Apple Pencil is a stylus that lets you write, draw, and interact with your iPad naturally and intuitively. You can use Apple Pencil to take notes, sketch ideas, mark up documents, create artwork, and more. Apple Pencil is compatible with various iPad models, such as iPad Pro, iPad Air, iPad, and iPad mini. However, there are two generations of Apple Pencil, and each one works with different iPad models. To use Apple Pencil, you need to pair it with your iPad first. Pairing is easy and quick; you only need to do it once. However, the pairing method differs depending on the generation of your Apple Pencil. This article is about Setting up Apple Pencil with your iPad.
Setting Up Apple Pencil (1st Generation)
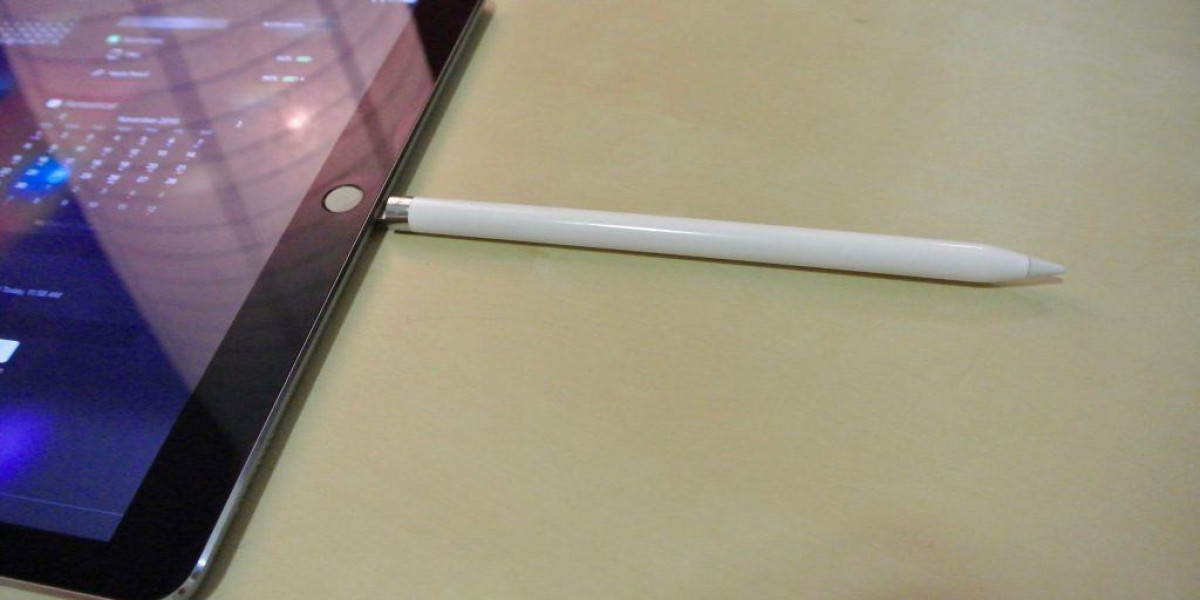
Apple Pencil (1st Generation) is a white, cylindrical stylus with a removable cap and a Lightning connector. It works with iPad Pro (1st and 2nd generation), iPad (6th, 7th, 8th, and 9th generation), iPad Air (3rd generation), and iPad mini (5th generation). To pair and set up Apple Pencil (1st Generation) with your iPad, follow these steps:
Step 1: Charge your Apple Pencil. Before pairing your Apple Pencil, you must ensure it has enough battery power. To charge your Apple Pencil, remove the cap and plug it into the Lightning port of your iPad. You will see a battery indicator on the screen, showing the charging status and the battery level of your Apple Pencil. You can also swipe down from the top-right corner of the screen to open the Control Center and tap the Batteries widget to see the battery level of your Apple Pencil. A few minutes of charging will give you enough power to use your Apple Pencil. However, you can also charge it fully, which will take about 15 minutes.
Step 2: Pair your Apple Pencil. After you charge your Apple Pencil, you can pair it with your iPad. To pair your Apple Pencil, keep it plugged into your iPad's Lightning port and unlock it. You will see a pop-up message asking if you want to pair your Apple Pencil. Tap Pair to confirm. You will hear a chime indicating that your Apple Pencil is paired with your iPad. You can also see a small icon of your Apple Pencil on the screen, showing the battery level and the pairing status of your Apple Pencil.
Step 3: Use your Apple Pencil. After pairing your Apple Pencil, you can use it with your iPad. You can use your Apple Pencil to write, draw, and interact with any app that supports Apple Pencil, such as Notes, Mail, Safari, Pages, Numbers, Keynote, and more. You can also use your Apple Pencil to access features and shortcuts, such as Instant Notes, Markup, and Screenshot.
Conclusion
Apple Pencil is a powerful and versatile accessory that enhances your iPad experience. You can use Apple Pencil to write, draw, and interact with your iPad naturally and intuitively. You can also use Apple Pencil to access features and shortcuts that make your iPad more productive and creative. To use Apple Pencil, you need to pair it with your iPad first, which is easy and quick. This article showed you how to pair and set up your Apple Pencil with your iPad using simple steps and tips. We hope this article helped you setting up Apple Pencil and enjoy using it with your iPad.