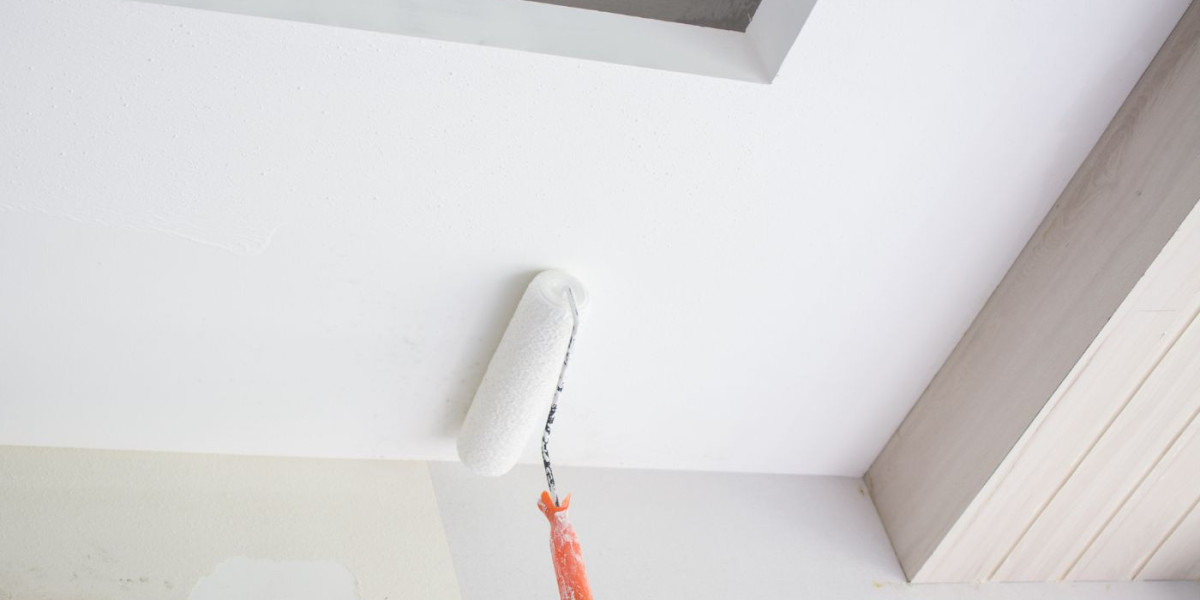
Painting a ceiling can feel daunting, but with the right preparation and technique, you can achieve a smooth, professional finish. Whether you are a DIY enthusiast or considering hiring a professional house painter near you, these tips and best practices will guide you through the process for stellar results.
Clear the Room
Before you start painting, remove as much furniture from the room as possible. This will give you plenty of space to move around and prevent any accidental paint splatters on your belongings. For larger furniture pieces that are difficult to move, cover them with drop cloths or plastic sheeting to protect them from paint drips and dust.
Protect Fixtures
Use painter's tape to cover lights, vents, and smoke detectors. This will prevent paint from splattering onto these fixtures and save you time on cleanup. Ensuring that all fixtures are well-protected will also help you focus on painting rather than worrying about avoiding these areas.
Gather Your Supplies
Having all your supplies ready before you start will make the process smoother and more efficient. Here’s a list of essentials:
- Roller with an Extension Pole: This will help you reach the ceiling without needing a ladder.
- Paintbrush: An angled brush works well for cutting in at the edges.
- Paint Tray and Liner: For easy loading of your roller.
- Drop Cloths: To protect your floors and any remaining furniture.
- Sanding Paper: Optional, but useful for smoothing any rough spots on your ceiling.
- Painter’s Tape: Optional, but can help with clean edges.
- Primer: Necessary for unpainted ceilings or stained surfaces.
- Ceiling Paint: Specifically formulated for better coverage and splatter resistance.
Choosing the Right Paint
Opt for Flat or Matte Finish
Flat or matte finishes are ideal for ceilings as they hide imperfections and minimize glare from overhead lighting. These finishes create a smooth, uniform appearance, which is particularly important on ceilings where lighting can highlight any flaws.
Consider Ceiling Paint
Ceiling paints are specially formulated to offer better splatter resistance and coverage. They tend to be thicker than wall paints, which helps in achieving a uniform coat with fewer drips and splatters. Investing in good quality ceiling paint can save you time and effort in the long run.
Priming (Optional)
Applying a coat of primer is an essential step if you have a new, unpainted ceiling, noticeable stains, or a glossy finish that needs better paint adhesion. Primer helps to seal the surface, providing a uniform base for the paint to adhere to, which can result in a smoother finish and more vibrant color.
Cutting In
Sharpen Your Brush
A high-quality angled brush is crucial for cutting in clean lines where the ceiling meets the walls. A good brush will provide better control and reduce the likelihood of paint bleeding onto the walls.
Start at the Edges
Begin by painting a clean line around the perimeter of the ceiling. This step can be skipped if you plan to paint the walls next and will be using the same color. However, if you are painting the ceiling a different color, cutting in is essential for a neat, professional look.
Rolling Like a Pro
Choose the Right Roller
The type of roller you use will depend on the texture of your ceiling. For smooth ceilings, a roller with a short nap (3/8" or less) is ideal. If your ceiling is textured, opt for a medium nap (1/2") roller to ensure even coverage.
Load and Roll
Pour paint into the tray and load your roller. Avoid overloading the roller – a light coat is better for even application. Apply the paint in smooth, overlapping strokes in a W or M pattern. This technique helps to distribute the paint evenly and reduces the risk of streaks.
Maintaining a Wet Edge
Working in sections is key to ensuring the paint doesn't dry before you have a chance to blend it in. Re-roll the edges of each section as needed to maintain a wet line. This technique helps to create a seamless finish without visible lap marks.
Avoiding Drips and Splatters
Shake Off Excess Paint
Before you start rolling, gently tap the loaded roller on the edge of the paint tray to remove any excess paint. This helps to prevent drips and ensures a more even application.
Work in Small Sections
Focusing on manageable areas allows you to maintain control over the roller and reduces the likelihood of overloading it with paint. Working in small sections also helps to minimize splatters and ensures a more precise application.
For a Flawless Finish
Apply Thin Coats
Two thin coats are better than one thick coat that can leave streaks or drips. Thin coats dry more evenly and are less likely to show brush or roller marks.
Let it Dry Completely
Allow ample drying time between coats as specified on the paint can. This step is crucial for achieving a durable, long-lasting finish.
Clean Up Promptly
While the paint is still wet, clean brushes and rollers with soap and water. Proper cleaning will prolong the life of your painting tools and ensure they are ready for future projects.
Feeling Unconfident?
Painting a ceiling can be physically demanding and requires a steady hand and attention to detail. If you're unsure about tackling the project yourself or want to ensure a flawless finish, consider hiring a professional house painter near me. Professional painters like Ash Painting have the experience, skills, and equipment to complete the job efficiently and to a high standard.
With careful preparation and these handy tips, you can conquer your ceiling and create a fresh, professional look in your space.


